'Tigres' - Mussel and Prawn Croquettes
Friday, May 24, 2024

This recipe is a version of the classic Spanish “Tigre”, a mussel and prawn croquette served in the mussel’s shell, which I tasted in Santiago de Compostela many years ago at a friend’s house. It is a very simple recipe and ever so rewarding, a definite hit for any dinner table as a starter. The creaminess of the béchamel (white sauce) and the taste of the sea from the Galician mussels with a touch of garlic and white wine make such a great combination. I must stress that the fresher the mussels the better the result.
As with most recipes in Spain each region has its unique touch, the recipe I am going to share with you is the typical recipe from Galicia, the home of the Spanish mussels.
However if you wish to jazz it up feel free! There are some who have them spicy or very spicy, known as “Angry Tigers” by adding a lot more cayenne pepper and chili. But let’s crack on with the traditional recipe and don’t forget to put a bottle of Albariño white wine from Rias Baixas in the freezer to chill off until serving!
Ingredients Filling:
Extra Virgin Olive Oil
Salt & Pepper
2 Onions
1 green pepper
1 glasses of white wine
300 grams of peeled prawns
1 kg of Mussels
3 Garlic cloves
1 Ripe peeled tomato (put it in boiling water for a minute and then the skin comes off easily)
1 large Bay leaf
Parsley
1 tsp. Cayenne Pepper
2 Eggs
Flour
Breadcrumbs
To make the Bechamel:
700 ml full fat Milk
80g of Flour
70ml of Extra Virgin Olive Oil
Salt & Pepper
Let's crack on :
Wash the mussels really well in cold water and remove all the algae and dirt from the shell and rinse well.
Heat a glass of white wine in the pan, when the wine begins to boil add a bay leaf , a few sprigs of parsley and then the mussels. Put the lid on and shake a little until all the mussels are open. Once all the mussels have opened remove them from the pan. Wait a few minutes and then remove all the mussels from the shells with a spoon. Let them cool on a plate. Reserve the liquid in the pan for later (wine with mussel juice). If you want, just pour the liquid into a glass and keep it to one side.
Now we need to finely chop up the mussels and keep to one side.
Thoroughly wash and scrub the empty shells because we are going to use them to hold the filling the and thus put them in our mouths!
I usually buy prawns already peeled but uncooked, so all I have to do is chop them into small pieces. So chop them up and put them to one side too.
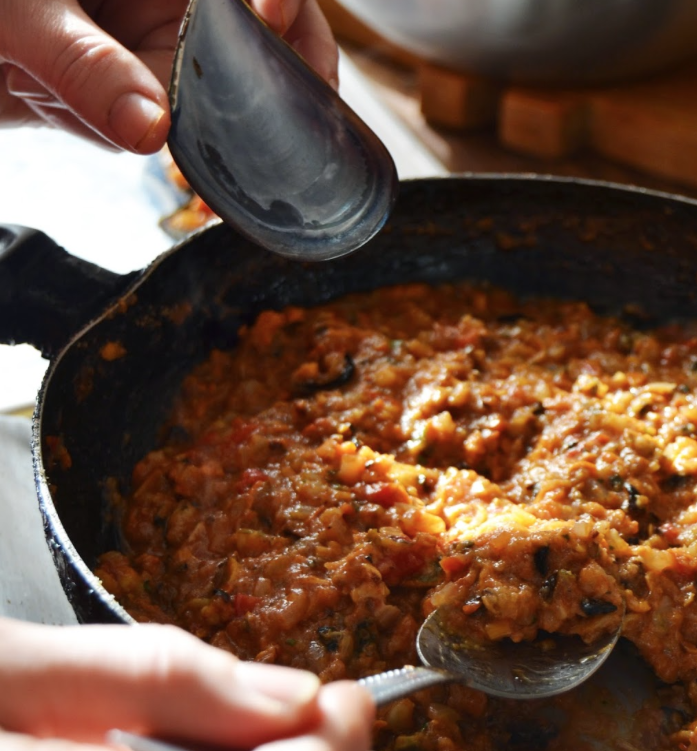 Now you need to chop the onions, garlic cloves, peeled tomato and pepper into very small pieces. Add Extra Virgin Olive Oil to a frying pan and fry the garlic first for about half a minute, then the onions and green pepper, then cook over low heat for about 10 minutes until it is all soft, it should not be crunchy at all. Taste and season the mixture with salt and pepper. Now you need to chop the onions, garlic cloves, peeled tomato and pepper into very small pieces. Add Extra Virgin Olive Oil to a frying pan and fry the garlic first for about half a minute, then the onions and green pepper, then cook over low heat for about 10 minutes until it is all soft, it should not be crunchy at all. Taste and season the mixture with salt and pepper.
Now add the chopped mussels and prawns followed by a glass of the ‘mussel and wine broth’ we put aside earlier!
Add the chopped tomato and a teaspoon of cayenne pepper. Let it all simmer on medium heat for about 10 minutes until the liquid has pretty much evaporated. Stir with a wooden spoon for a couple of minutes and then remove the pan from the heat.
To make the bechamel, add the extra virgin olive oil to a pan, add the flour, and lightly cook on low heat for a minute or so and then slowly pour in the milk, stirring constantly. Then add salt and pepper and cook for about 10 minutes over a low heat, stirring it from time to time.
The next step is to mix the bechamel with the mussel and prawn filling and cook for a further 10 minutes, stirring occasionally. It should be of a very thick consistency. Let it cool down a bit.
Finally fill the mussel shells with the filling and leave them in the fridge for a couple of hours so they have completey cooled down.
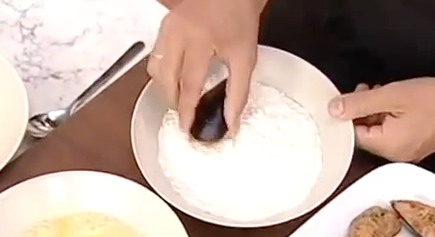 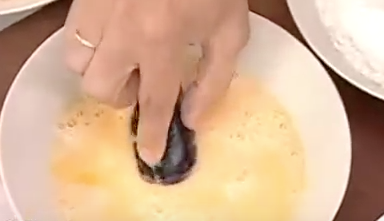
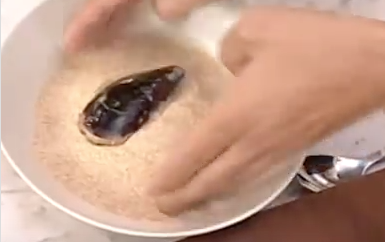 
Now we need to dip one in flour, then dip it in egg and finally dip it in breadcrumbs. Make sure the breadcrumbs completely cover the filling. Put to one side and repeat for all the rest.
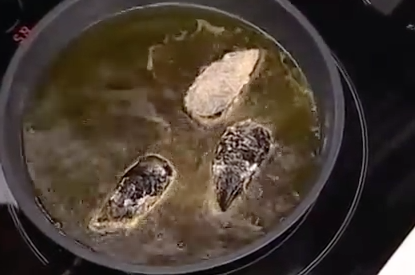
The last stage is to fry them in Extra Virgin Oilve Oil. Heat the oil, use a piece of bread to judge the temperature. First place them face down in the pan until they are Golden and crisp, the turn them over for a minute and then remove from the pan and set aside to serve with a glass of nicely chilled Albariño White wine.
Enjoy!
 1
Like
Published at 9:15 PM Comments (1)
Ensaladilla Rusa - Russian Salad with a twist
Friday, May 17, 2024
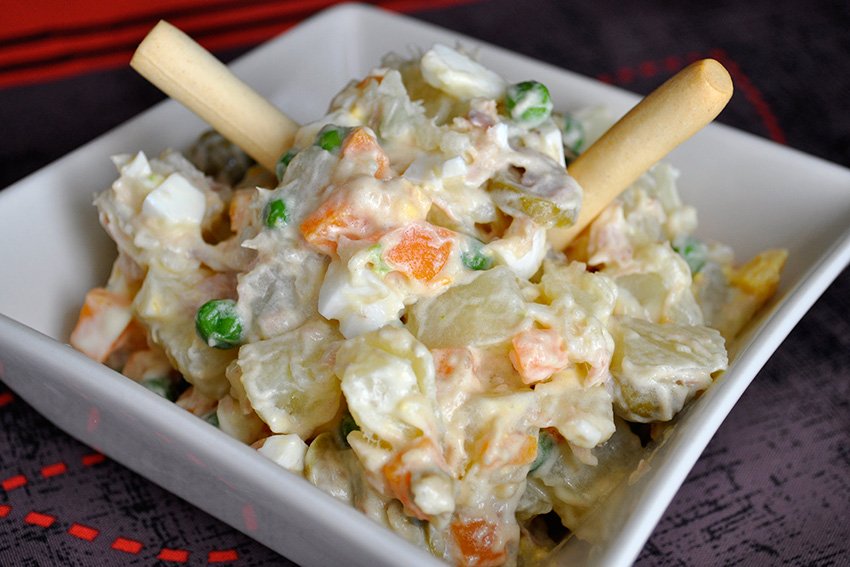
 Russian salad or also known as Olivier salad outside Spanish borders is one of the legendary recipes of Spain's bars and restaurants. It is a homemade recipe that the Spanish have adapted, and as its name indicates, is of Russian origin, surprise, surprise. Russian salad or also known as Olivier salad outside Spanish borders is one of the legendary recipes of Spain's bars and restaurants. It is a homemade recipe that the Spanish have adapted, and as its name indicates, is of Russian origin, surprise, surprise.
Many people still believe that Russian salad is actually Spanish although, in reality, the original recipe has its origin in Moscow. The first "Russian" salad was made in 1860 by chef Lucien Olivier, a chef at the famous restaurant "Hermitage" in Moscow.
The exact recipe — particularly that of the dressing — was a zealously guarded secret, but it is known that the salad contained grouse, veal tongue, caviar, lettuce, crayfish tails, capers, and smoked duck, although it is possible that the recipe was varied seasonally. The original Olivier dressing was a type of mayonnaise, made with French white wine vinegar, mustard, and Provençal olive oil; its exact recipe, however, remains unknown.
At the turn of the 20th century, one of Olivier's sous-chefs, Ivan Ivanov, attempted to steal the recipe. While preparing the dressing one evening in solitude, as was his custom, Olivier was suddenly called away on some emergency. Taking advantage of the opportunity, Ivanov sneaked into Olivier's private kitchen and observed his mise en place, which allowed him to make reasonable assumptions about the recipe of Olivier's famed dressing. Ivanov then left Olivier's employment and went to work as a chef for Moskva, a somewhat inferior restaurant, where he began to serve a suspiciously similar salad under the name "metropolitan salad". It was reported by the gourmands of the time, however, that the dressing on the "Metropolitan" salad was of a lower quality than Olivier's, meaning that it was "missing something."
Later, Ivanov sold the recipe for the salad to various publishing houses, which further contributed to its popularisation. Due to the closure of the Hermitage restaurant in 1905, and the Olivier family's subsequent departure from Russia, the salad could now be referred to as "Olivier." At some point, it reached Spain as well as other countries, but Spain really "adopted" it as its own and it has now become a staple tapas all over the country.
 Russian salad is one of those starters that cannot be missing from a Summer lunch. I always enjoy starting my barbecue with homemade gazpacho or salmorejo and some Russian salad with barbecue toasted bread. Although it is served throughout the year, it is still a very summery recipe. It must be said that there are a thousand ways to make a Russian salad, in each household they use different ingredients, but in this recipe, I am going to explain my version and the typical Spanish version. Russian salad is one of those starters that cannot be missing from a Summer lunch. I always enjoy starting my barbecue with homemade gazpacho or salmorejo and some Russian salad with barbecue toasted bread. Although it is served throughout the year, it is still a very summery recipe. It must be said that there are a thousand ways to make a Russian salad, in each household they use different ingredients, but in this recipe, I am going to explain my version and the typical Spanish version.
The typical Spanish ingredients are boiled potatoes, peas, carrots, tuna, olives and mayonnaise. From here each person can play around with their own ingredients, be it prawns, chicken, ham or whatever. I think that the mayonnaise for this recipe should always be homemade, although you can of course use bottled if you don't know or don't have time to make it - I prefer Hellmann's but that's up to you.
INGREDIENTS:
For the Spanish version:
2-3 Potatoes – medium-sized (400-500g)
2 large boiled eggs
2 large boiled carrots
1/2 White Onion – finely chopped
200g Cooked garden peas
8 large Gherkins – diced
12 Anchovy-stuffed green olives – chopped
200 g Tuna steak in olive oil
Freshly ground black pepper
Extra virgin olive oil
1 tbsp of lemon juice
Salt
 For the mayonnaise: For the mayonnaise:
1 Egg
250 ml Extra virgin olive oil "suave".
1 tbsp Lemon juice
Salt
My version :
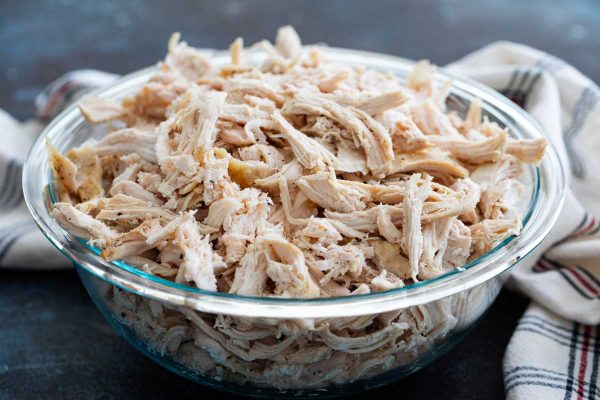
I swap out the tuna for shredded roast chicken breast and my olives are not stuffed, just pitted. Everything else stays the same.
Steps to take:
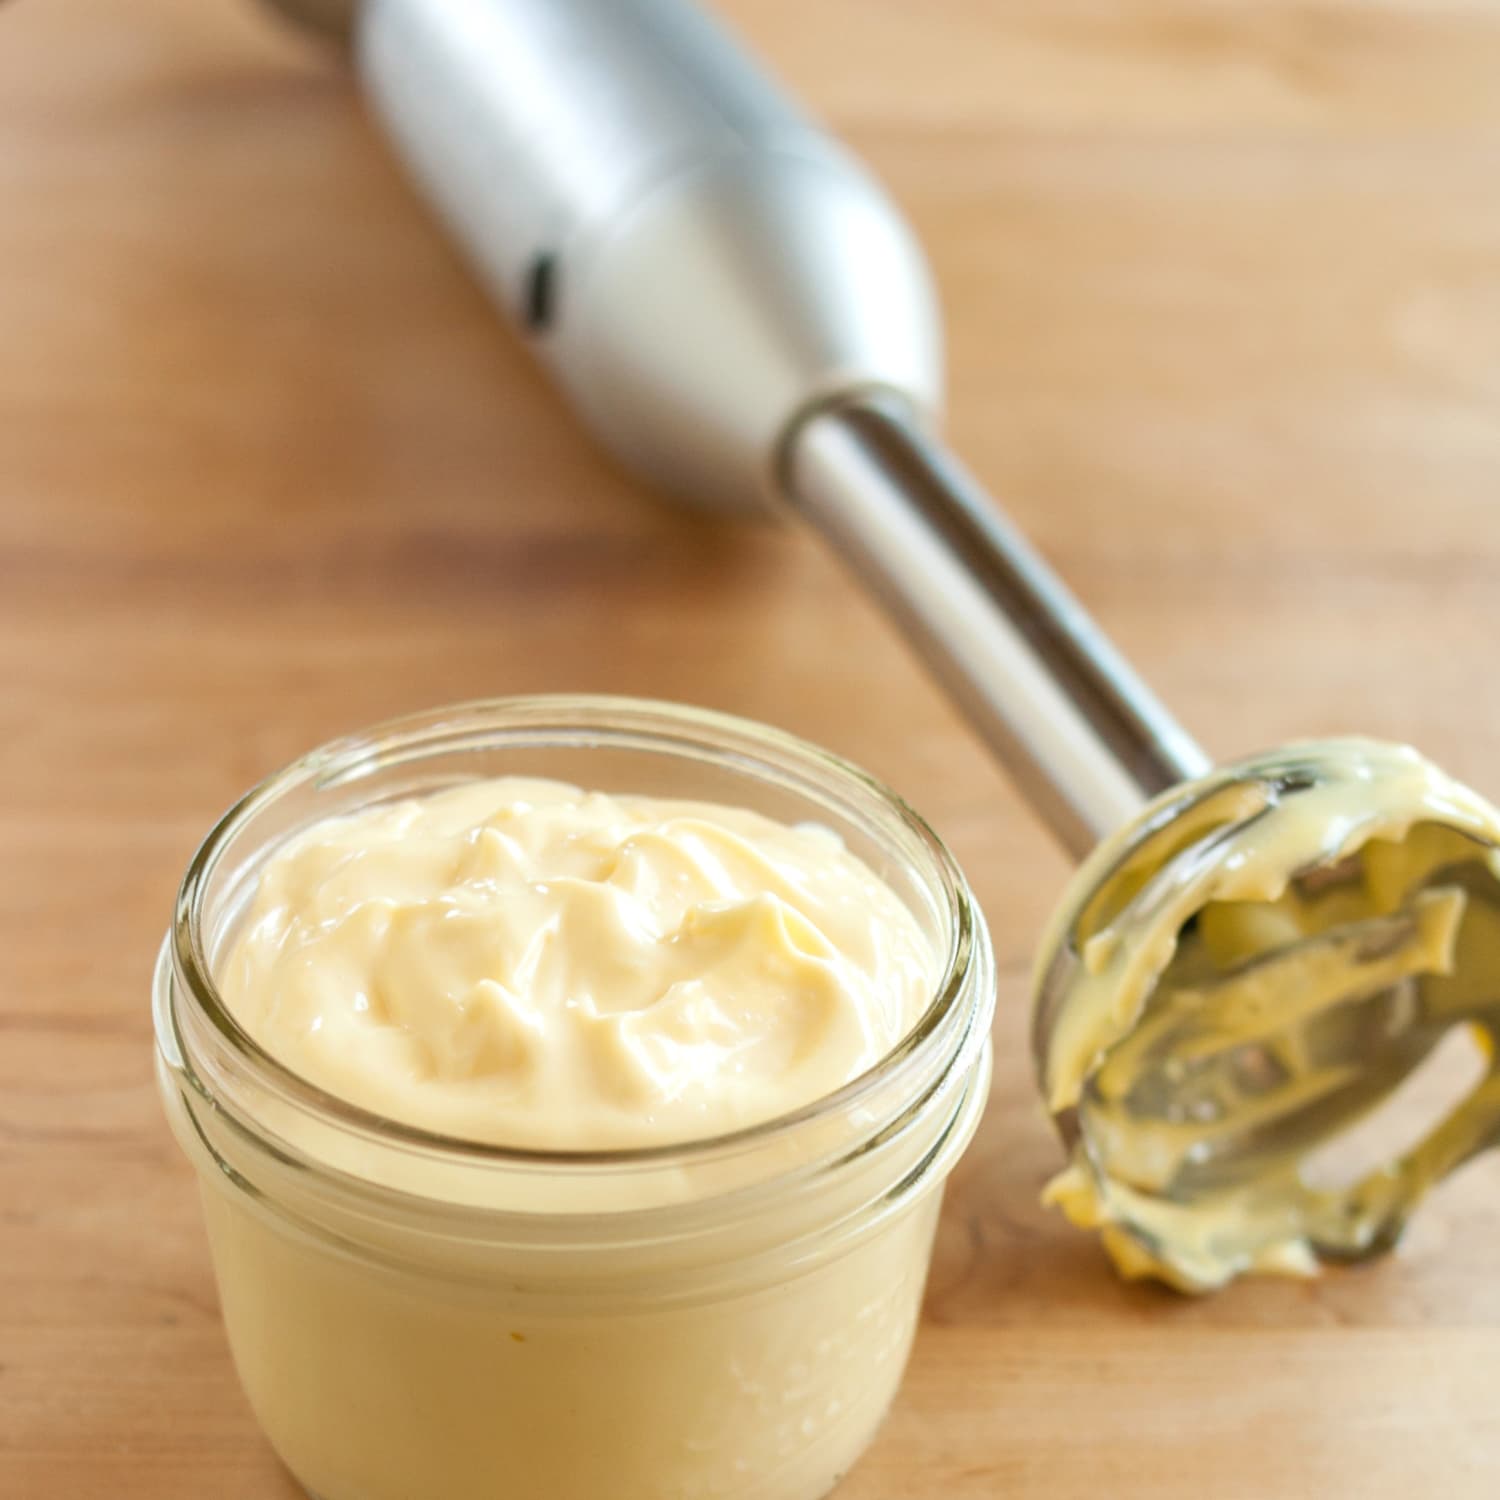
- Make a simple mayonnaise by placing all the ingredients in a tall jug and blend them with the help of a hand blender until you achieve a smooth thick emulsion. It may take a bit of practice.
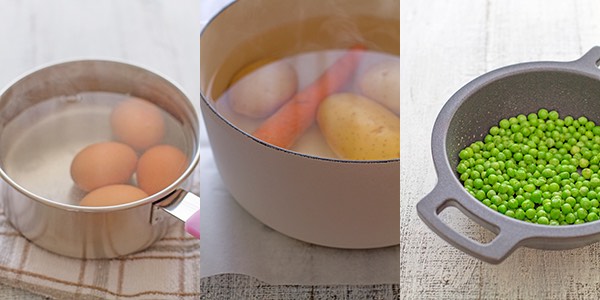
- Place the potatoes and the carrots in a cooking pot and cover them with water. Bring the water to boil and cook for 25 minutes until the vegetables become well-cooked throughout, but be careful not to overcook them or they will disintegrate when you chop them up and mix them into the salad.
- Boil the eggs - make sure they are hard-boiled.
- Boil the peas - once ready add them to a large salad bowl.
- In the meantime, finely chop the onion, the gherkins and the olives. Crumble the tuna or chop the chicken and place it all in the big salad bowl.
- Once the carrots and the potatoes are cooked and cooled, peel them and diced them. Then add them to the bowl with the rest of the ingredients.
- Season to taste and add a couple of tablespoons of mayonnaise and then more if required. Remember you can always add more but you can never remove the mayonnaise, so don't overdo it straight away. Mix everything thoroughly and place it in the fridge for a few hours so that it really cools down. This salad is much much better when served cold!
- Take the salad out of the fridge at least 10 minutes before serving and serve with breadsticks or crusty toasted bread slices.
 1
Like
Published at 9:46 PM Comments (1)
Traditional Manchego Migas: A Culinary Journey into the Heart of La Mancha
Saturday, May 11, 2024
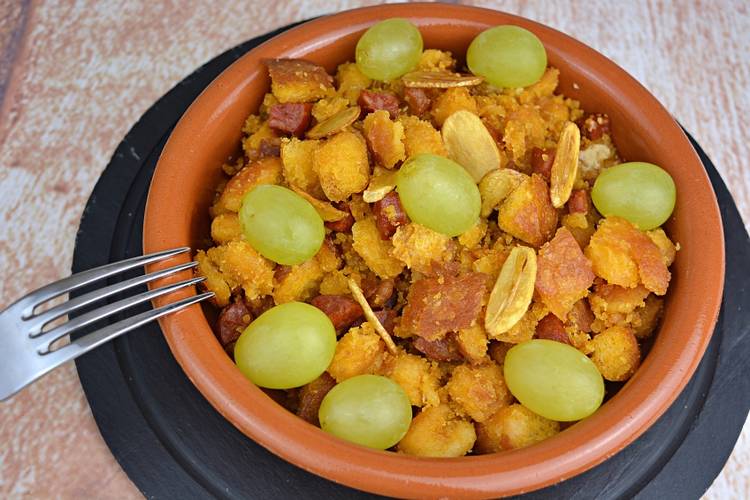
Not long ago, I was fortunate enough to relish in the heartwarming embrace of a family meal in the picturesque region of La Mancha, more precisely in Torrenueva. The menu was a homage to the local cuisine, a medley of traditional dishes among which the Manchego Migas stole the show. With its enchanting blend of simplicity and rich flavour, featuring crispy chorizo, succulent pancetta, and the surprising pop of fresh grapes, it was an experience I will never forget.
Inspired by that memorable meal, I sought out the recipe from my wife's Aunty, a true Manchega, who holds the culinary treasures of their land close to her heart. I'm thrilled to share with you the step-by-step journey of making traditional Manchego Migas, a dish as humble as it is comforting, for those special moments that call for a touch of rustic indulgence. This what you'll need:
Ingredients
-
500g of stale bread, cut into small cubes
-
500g of fresh grapes
-
250ml of water with a pinch of salt
-
200ml of olive oil (120ml for frying and 80ml for sautéing the Migas)
-
3 fresh chorizos
-
5 thick slices of pancetta
-
6 garlic cloves
-
1 dried sweet red pepper (Pimiento Choricero)
The Journey to Perfect Migas
-
Preparation of the Bread: Spread the bread cubes on a large kitchen towel. Sprinkle the saltwater evenly over the bread with a spoon, ensuring each cube gets a light damping. Then, wrap the bread in the cloth like a parcel and let it rest for 1.5 to 2 hours. Periodically turn the parcel to evenly distribute the moisture.
-
Frying the Flavour Base: Using a small frying pan, fry the dried sweet pepper briefly to avoid burning it. Follow with the pancetta (skin removed) and chorizo, both chopped. Aim for a crispy finish, especially on the chorizo. Once done, drain them on a paper towel, but conserve about 15ml of the flavoured oil for later use.
-
Merging Flavours: Grind the Pimiento Choricero to a fine powder using a mortar and pestle. Then, dice the pancetta and chorizo into smaller pieces, setting them aside together with the pepper powder.
-
Creating the Migas: In a large frying pan, combine the saved 15ml of seasoned oil with new olive oil and heat at a moderate temperature. Add the garlic cloves to infuse the oil, then incorporate the moistened bread. Continuously turn the mixture with a spatula, ensuring the bread becomes loose and golden. Near the end, stir in the Pimiento Choricero powder and the chorizo and pancetta pieces, mixing thoroughly until everything is well integrated and warmed through.
Serving The Migas Manchegas
Plate your Migas in small serving pans or dishes, adding the fresh grapes at the moment of serving to introduce a refreshing contrast to the rich flavours. A robust aged red wine from La Mancha makes an impeccable companion to this dish, honouring the land's culinary tradition.
Making Migas Manchegas is not just about following a recipe; it's an invitation to explore the rustic elegance of Spanish cuisine, to savour the rewards of patience and simplicity. It's a dish that unites family and friends, connecting us to the rich tapestry of tradition and the joy of shared meals. Whether you're rediscovering a cherished culinary heritage or embarking on a new culinary adventure, Migas Manchegas offers a taste of the soul-satisfying simplicity of La Mancha's cuisine. Aproveche!
 1
Like
Published at 11:40 AM Comments (4)
Rice with Pork Ribs: An Easy Recipe to Win Over Every Sunday
Saturday, May 4, 2024
When it comes to Sunday lunches, there’s a particular kind of magic that surrounds dishes we prepare with a loving touch, reminiscent of cosy family gatherings. Among such meals, rice with pork ribs (Arroz con Costillas) holds a special place in my family. This recipe offers simplicity entwined with sensational flavours, standing out as an unequivocal delight that doesn't hurt your wallet. Today, we explore how this unassuming dish can become the highlight of your Sunday table, bringing joy with every bite.

Rice with pork ribs might remind some of the traditional noodle dishes, but its appeal lies in the rich, comforting taste it brings to the table with minimal ingredients. The secret to its success? Quality pork ribs, perfectly cooked rice, and a robust meat broth lend depth to this delectable feast. However, the magic doesn't stop there. I will share a tip to ensure the ribs turn out succulent and the rice, perfectly cooked.
This dish is versatile; you can 'beef it up' by adding vegetables or more meat according to your preferences. Imagine the delightful crunch of green asparagus, flat beans or the added richness of fresh sausage or chicken thighs mingling with the tender pork and rice. However, even with its basic ingredients, this recipe promises a meal that will have guests asking for seconds.
Basic Ingredients
To serve four, you'll need:
-
800g of pork ribs
-
½ a red pepper, finely diced (brunoise)
-
½ a green pepper, finely diced
-
1 onion, finely diced
-
2 cloves of garlic, finely diced
-
1 teaspoon of sweet Pimentón de la Vera (paprika)
-
360 grams of bomba rice
-
720 ml of meat broth
-
1 twig of fresh thyme
-
Salt to taste
-
Extra virgin olive oil
-
Ground black pepper
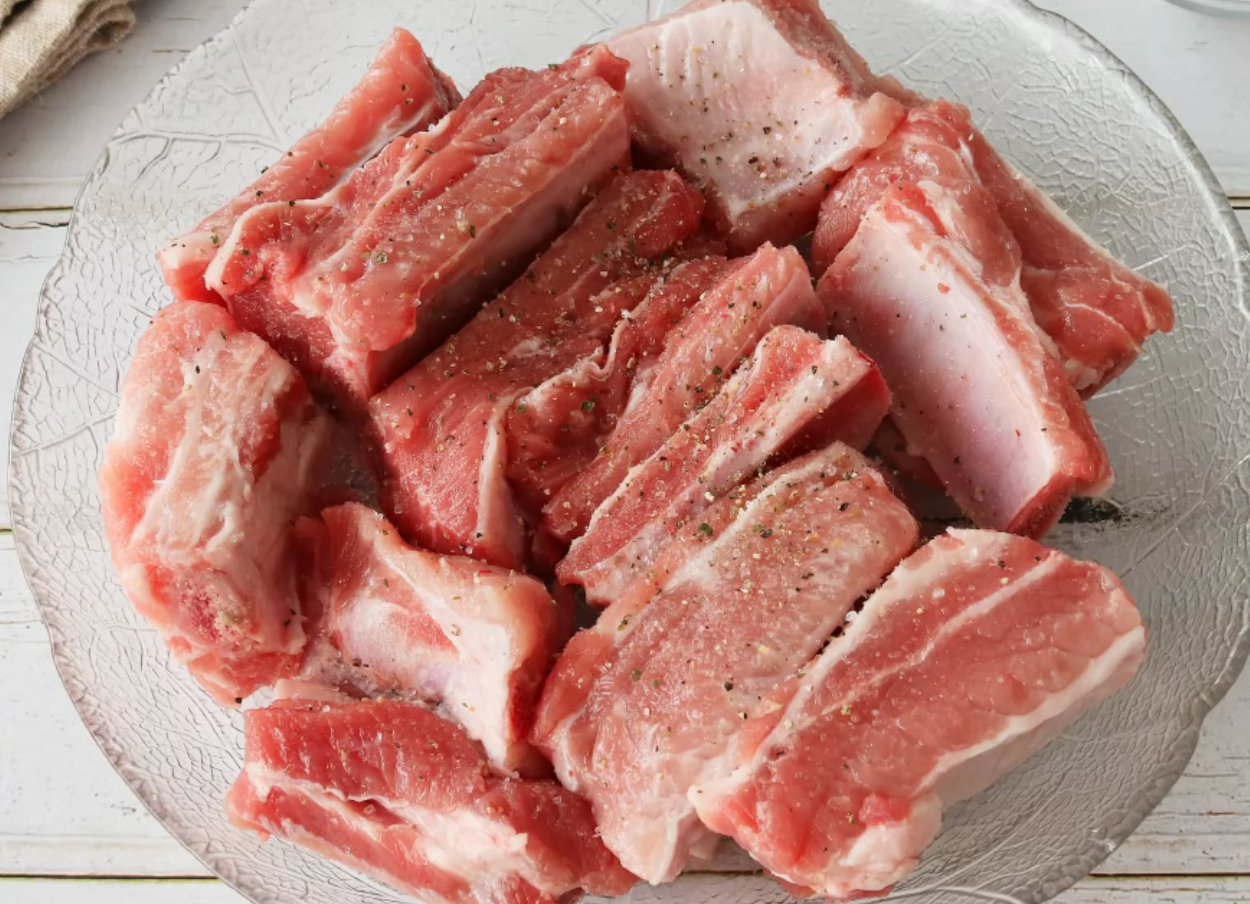
The journey to an unforgettable meal begins with prepping your ingredients, starting with finely chopping your vegetables and seasoning the pork ribs. The dance of flavours commences in a cazuela (or any heavy-based pan you have) where you'll sear the pork ribs in a splash of olive oil until beautifully golden brown all over. This is key for the flavour.
Once seared, set aside the ribs and introduce all vegetables into the same pan, allowing them to soften slowly over low heat for around 20 minutes. After this, stir in the Pimentón de la Vera, releasing its smoky aroma into the mix.
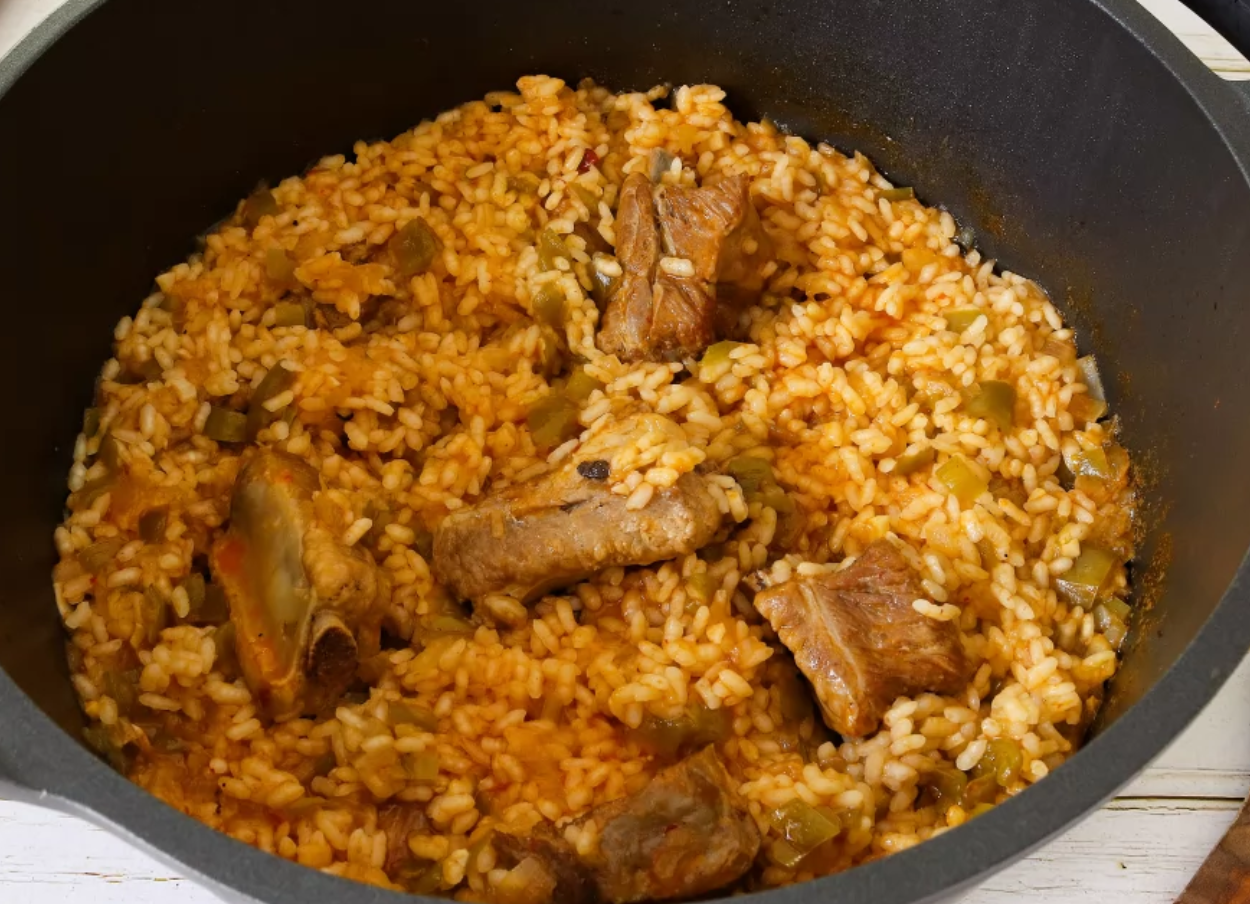
Returning the ribs to the pan, add room temperature water and bring to a boil until the liquid evaporates, creating the perfect base for the rice. Add in the meat broth and thyme, cooking the rice on medium heat. The grains should be al dente in about 15-16 minutes, but always taste to make sure. Finally, cover the pan with a clean towel and let the rice rest and fluff up for a few moments before serving.
Rice with pork ribs is more than just cooking; it’s creating and sharing moments of joy. Such a meal reminds us of the power of simple ingredients coming together to create something extremely satisfying.
Remember, cooking is an art steered by passion, but also one that delights in improvisation. Feel free to tweak the recipe to your taste, experimenting with different vegetables or meats. After all, the best meals are not just those that fill the stomach but those that carry the essence of home and happiness.
In the spirit of Sundays well spent, may this rice with pork ribs become a recurring joy in your home too.
Buen Provecho!
 2
Like
Published at 11:58 AM Comments (0)
Spam post or Abuse? Please let us know
|
|